Scratch Art
If you are looking for a magical, budget-friendly, and highly engaging art project for your classroom or home, look no further than DIY scratch art. There is something undeniably captivating about coloring a piece of paper, painting over it in pitch black, and then scratching away the surface to reveal brilliant, rainbow hues beneath.
This classic crayon-and-black-paint technique is a staple in elementary art education for a reason. Not only does it produce stunning refrigerator-worthy masterpieces, but it also teaches vital artistic concepts like color contrast, pressure control, and patience.
In this comprehensive lesson plan, we will break down exactly how to create DIY scratch art with children ages 3 to 10. We will cover the materials you need, step-by-step instructions, age-specific modifications, and the secret ingredient that makes the black paint scratch off smoothly every single time.
Why Scratch Art is a Developmental Goldmine
Before we dive into the messy, colorful fun, it is important to understand why this project is so valuable for early childhood and elementary development. Scratch art is much more than a time-filler; it is a multi-sensory experience that builds critical skills.
Fine Motor Strength: Coloring heavily with wax crayons requires significant hand strength, which prepares young children for handwriting.
Sensory Processing: The tactile feedback of scratching away dried paint with a wooden stylus is highly regulating and satisfying for many children.
Scientific Inquiry: The process of hiding colors and revealing them introduces basic concepts of chemistry (how wax resists water-based paint) and cause-and-effect.
Patience and Delayed Gratification: Unlike instant art forms, scratch art requires preparation, a drying period, and a secondary action to see the final result.
Gather Your Materials
You likely already have everything you need for this project sitting in your craft closet. Here is the supply list:
Heavyweight Paper: Cardstock, watercolor paper, or Bristol board works best. Flimsy printer paper will rip during the scratching phase.
Wax Crayons: Name-brand crayons (like Crayola) usually work best because they have a high wax content. Avoid washable crayons, as they do not resist the paint well.
Black Paint: Tempera paint is the traditional choice for schools, but acrylic paint works beautifully too.
Liquid Dish Soap: This is the secret ingredient! Mixing a little dish soap into the black paint prevents it from permanently binding to the wax, making it easy to scratch off.
Scratching Tools: Wooden skewers, toothpicks, unbent paperclips, craft sticks, or even the back end of a paintbrush.
Paintbrushes: Wide, flat brushes are ideal for applying an even coat of black paint.
Newspaper or Drop Cloths: To protect your table surfaces.
The Step-by-Step Scratch Art Process
Follow these steps for a foolproof scratch art experience.
Step 1: The Rainbow Foundation
Hand out the heavyweight paper and tell the kids their mission is to cover every single millimeter of the paper with bright colors. There should be absolutely no white space left showing. Encourage them to press down hard with their crayons to build up a thick, waxy layer.
Dark colors like brown, black, and navy blue should be avoided for this step, as they won't show up well under the black overcoat. Think neon pinks, bright yellows, lime greens, and vivid oranges. Blocks, stripes, and splotches of color work best—detailed drawings will just get lost later.
Step 2: Mix the Magic Paint
While the kids are coloring, prepare the black paint mixture. In a cup or bowl, mix black tempera or acrylic paint with a squirt of liquid dish soap. The ratio should be roughly one part dish soap to two parts paint. Stir it gently to avoid creating too many bubbles. The soap acts as a binder that sits on top of the wax without soaking in, allowing for that satisfying "scratch" later on.
Step 3: Paint the Blackout Layer
Once the paper is completely covered in bright wax crayon, it is time to paint. Have the children use wide brushes to apply an even layer of the black soap-and-paint mixture over their colorful crayon designs. Ensure they paint in one direction to keep the coat smooth. They may need a second coat if the crayon is still shining through brightly.
Step 4: The Waiting Game
This is the hardest part for excited kids! The black paint must dry completely before the scratching can begin. If they try to scratch while it is damp, the paper will tear, and the paint will smear into a muddy mess. You can speed up this process with a hair dryer on a cool setting if you are short on time.
Step 5: Scratch and Reveal!
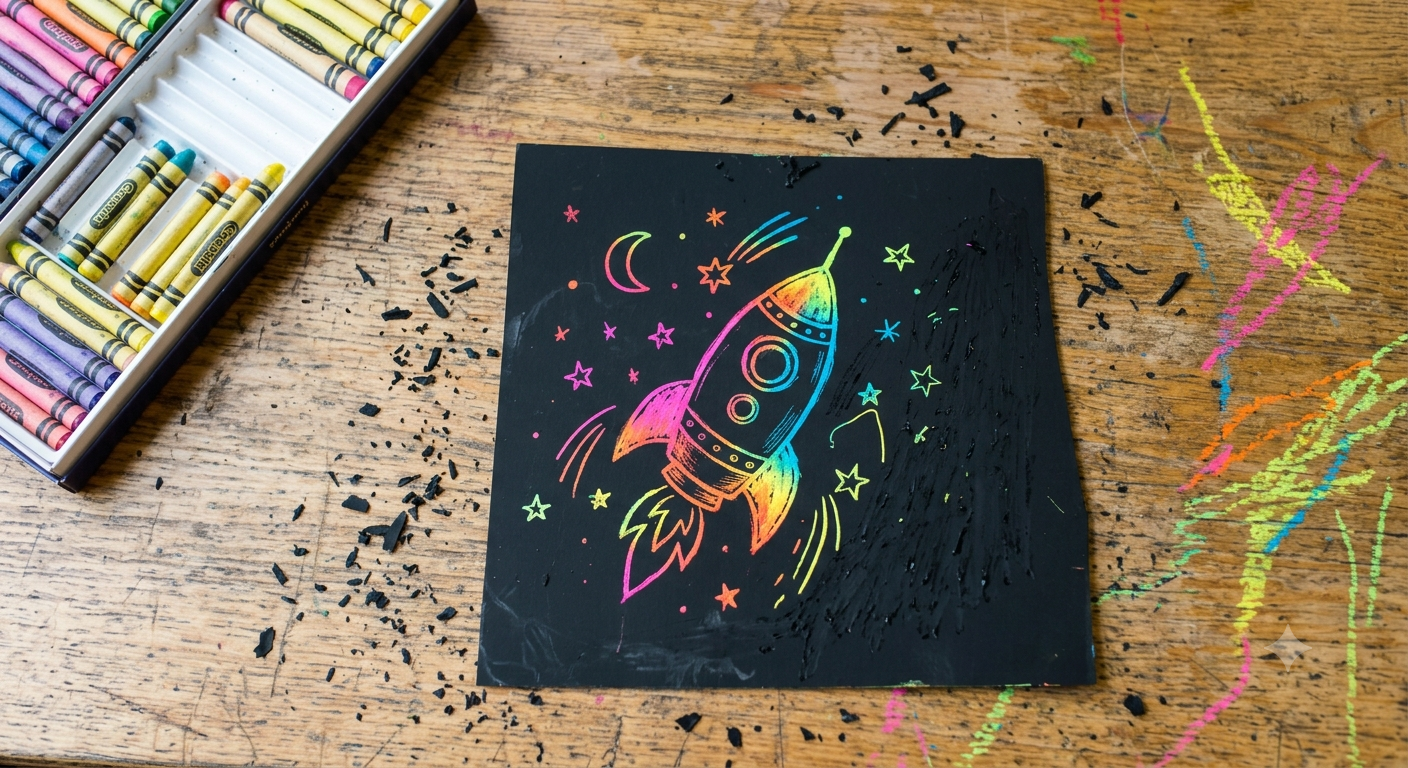
Once the paint is bone dry, hand out the scratching tools. Instruct the kids to gently scrape away the black paint to draw pictures, write their names, or create geometric patterns. The bright wax colors underneath will pop through the darkness, creating a stunning neon effect.
Age-Specific Modifications
To make this lesson plan a success across different age groups, tailor your expectations and setup.
Preschoolers (Ages 3-5)
For the youngest artists, coloring a whole page heavily can be exhausting for tiny hands.
Modification: Cut the paper into smaller shapes (like stars, hearts, or simple squares) before they start coloring. You can also have the teacher or parent apply the black paint to ensure an even coat. Use wider, safer scratching tools like craft sticks or the wrong end of a paintbrush instead of sharp toothpicks.
Early Elementary (Ages 6-8)
Kids in this age bracket love a theme.
Modification: After the paint dries, have them create "Nighttime Cityscapes" or "Deep Sea Oceans." The black background perfectly mimics the night sky or the bottom of the sea. Introduce different scratching tools—like a plastic fork to create waves or textured grass.
Older Kids (Ages 9-10)
Older children possess the fine motor control needed for intricate designs.
Modification: Challenge them to try "Zentangle" patterns, mandalas, or detailed silhouettes. You can also introduce the concept of cross-hatching to create shading and depth within their scratch art. Encourage them to plan their final drawing lightly with a pencil on the black paint before scratching.
Cleanup and Pro Tips
Scratch art is incredibly fun, but the little black flecks of dried paint can get everywhere. Here is how to manage the mess:
Contain the Flakes: Have students do the scratching phase inside a shallow cardboard box or on top of a large paper plate to catch the paint shavings.
Fixing Mistakes: Did someone scratch away a part they didn't mean to? No problem! Just dab a tiny bit of the black paint mixture over the mistake, let it dry, and they can try again.
Seal the Deal: If you want to preserve the artwork for a long time without it continuing to flake, give it a quick spray with a clear acrylic sealer (done by an adult outdoors).
DIY scratch art is a wonderful way to blend process art with a stunning final product. By combining the physical effort of coloring, the suspense of painting over it, and the joy of the final reveal, you are giving kids an art lesson they will remember and request over and over again.