Geometric Monster Design
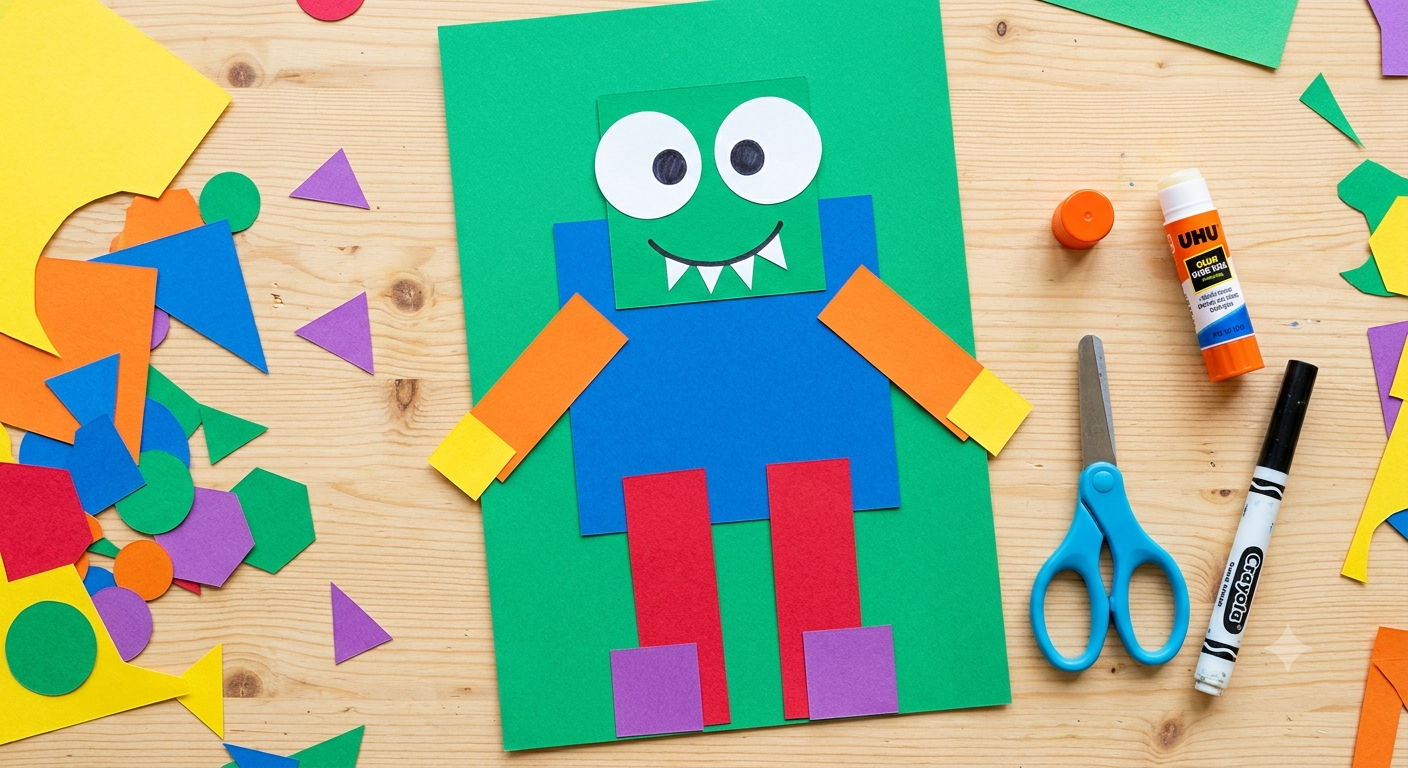
Ever tried explaining the properties of a hexagon to a room full of energetic five-year-olds? It usually results in glazed-over eyes and sudden requests for snack time. But what if that hexagon was actually the razor-sharp torso of an intergalactic, planet-eating beast? Suddenly, geometry isn’t just a math lesson—it’s an adventure.
Integrating STEAM (Science, Technology, Engineering, Art, and Math) concepts into early childhood and elementary education doesn't require a high-tech lab. Sometimes, all you need is a stack of construction paper, a pair of safety scissors, and a healthy dose of imagination.
This comprehensive lesson plan guides you through teaching a "Geometric Shape Monster" activity. It is fully adaptable for children aged 3 to 10, bridging the gap between foundational shape recognition and advanced spatial reasoning.
Why Monsters and Math Just Click
Before diving into the glue sticks, let’s talk strategy. Why does this project work so exceptionally well?
Deconstructs Complex Visuals: Kids learn to look at the world around them and break complex forms down into basic geometric components.
Encourages Low-Stakes Creativity: There is no "wrong" way to draw or build a monster. If an eye ends up on a knee, that’s just great monster anatomy. This completely eliminates the artistic anxiety that some children feel.
Scaffolds Learning Beautifully: A three-year-old can practice identifying a circle, while a ten-year-old can manipulate acute triangles and parallelograms to create dynamic, asymmetrical movement.
Pro-Tip for Educators & Parents: Don't treat the math and the art as separate steps. Use mathematical vocabulary organically throughout the entire creative process. Instead of saying, "Put that green piece there," try, "Where will you attach that green rhombus?"
Adapting the Lesson Across Age Groups
A single lesson plan rarely fits a toddler and a fourth-grader simultaneously. To make this work in a multi-age classroom or at home with siblings, use these developmental tiers:
The Tiny Creators (Ages 3–5)
At this stage, the focus is on tactile exploration, shape identification, and fine motor skills.
Preparation: Pre-cut all shapes from sturdy construction paper or foam sheets. Stick to the basics: circles, squares, rectangles, and equilateral triangles.
The Goal: Sorting, naming, and gluing. Kids will practice placing smaller shapes (like circle eyes) onto larger shapes (like a square body).
The Eager Learners (Ages 6–8)
Children in this bracket are developing better tool mastery and love precision.
Preparation: Provide templates for them to trace and cut out themselves. Introduce trickier shapes like ovals, diamonds (rhombuses), and trapezoids.
The Goal: Symmetry and structural design. Challenge them to think about how shapes can combine—for example, putting two triangles together to make a square for a monster's hand.
The Advanced Designers (Ages 9–10)
Older kids need an intellectual challenge to stay engaged with basic materials.
Preparation: Provide rulers, protractors, or compasses. Introduce complex polygons like pentagons, hexagons, and octagons.
The Goal: Spatial illusion, angles, and math integration. Challenge them to create a 3D illusion on a 2D surface or use specific angles (like right or obtuse angles) to give their monsters spikes or claws.
The Step-by-Step Monster Design Lesson Plan
Objectives & Materials
Duration: 45 to 60 minutes
Core Objectives: Identify geometric shapes, demonstrate fine motor control (cutting/pasting), and apply spatial reasoning to create an original piece of artwork.
Materials Needed:
Assorted brightly colored construction paper
Glue sticks or school glue
Safety scissors (and decorative edge scissors for older kids)
Washable markers or crayons (for adding minor details)
Large white or black paper (to serve as the background canvas)
Step 1: The Shape Warm-Up (10 Minutes)
Gather the children and start with a quick interactive game. Hold up various geometric cutouts and ask the kids to name them.
For older kids, up the ante: "Who can tell me how many vertices a hexagon has?" or "Find something in this room that is a rectangle." This primes their brains to look for geometric architecture before they begin creating.
Step 2: Brainstorming Your Beast (10 Minutes)
Before putting glue to paper, have the kids map out their designs. Distribute the background paper and a handful of loose shapes.
Instruct them to play around with the layouts without gluing anything down yet. This "dry run" allows them to experiment with asymmetry, layering, and scale.
Is the body one giant circle, or is it a stack of rectangles?
Are the legs long, thin parallel lines, or zig-zagged triangles?
Step 3: Construction & Assembly (25 Minutes)
Once they are happy with their loose design, it’s time to secure it.
Encourage layering to create depth. For instance, gluing a large purple square down first as the body, then layering yellow triangles on top for scales, and finally adding white circles with black marker dots for eyes.
If younger children get frustrated with gluing, encourage them to focus on one single feature at a time—like giving their monster five triangle teeth.
Step 4: The Math Gallery Walk (10 Minutes)
Once the glue has dried, display the monsters on a wall or table. Have each child present their creation to a partner or the group, not by describing what the monster does, but what it is made of.
Conversation Starter: "My monster is named Barnaby. His body is a large trapezoid, he walks on four rectangular legs, and he has seven circular eyes to spot his food!"
Taking It Further: Fun Extension Activities
If you want to stretch this lesson into a multi-day project or a full unit, try these creative extensions:
The Monster's Biography: Have older kids write a creative short story about their monster. The catch? They must use geometry terms in the story (e.g., "He lives in the Parallel Dimensions where everything rotates 90 degrees...").
Shape Inventory Sheet: Create a checklist where kids count and tally exactly how many circles, squares, and triangles they used. This integrates data collection and graphing into the art lesson.
Final Thoughts for Educators
Art and math are often treated as opposite sides of the brain, but they are deeply intertwined. By transforming rigid geometric guidelines into playful, monstrous creations, you give children permission to play with math. They stop fearing the rules of geometry and start using them as tools for creation.